Trustpilot (10,766+ Reviews)
Trustpilot (10,766+ Reviews)
Author: The Beard Struggle
Published at: Jun 27, 2024
Did you know that the history of beard straightening dates back thousands of years?
Ancient Egyptians were known to use heated rods to straighten their beards, and today, men all over the world continue to embrace this grooming trend. Whether you have a short beard or a long one, a beard straightener can help you achieve a neat and polished look.
In this article, we will guide you through the process of using a beard straightener effectively, so you can tame those wild facial hairs and maintain a stylish appearance.
Using a beard straightener can transform your unruly facial hair into a sleek and polished look. Not only does it help in taming frizz and flyaways, but it also adds a touch of sophistication to your overall appearance.
This preheating process ensures that the straightener reaches the optimal temperature for effective straightening without causing damage to your beard.
Before applying the straightener to your beard, always use a heat-protectant spray or serum. This crucial step creates a barrier between the heat of the straightener and your beard, minimizing the risk of heat damage and maintaining moisture levels.
Spray the heat protectant evenly over each section of your beard before straightening, ensuring thorough coverage from root to tip.
Allow the protectant to dry for a few seconds before using the straightener to ensure maximum effectiveness in shielding your beard from heat-related stress.
Before you start straightening, it's essential to section your beard. Using a comb or your fingers, divide your beard into smaller sections, starting from the bottom and working your way up. This division allows for better control and ensures that each hair strand is straightened evenly.
As you run the straightener through each section, maintain a steady and consistent pace to achieve a uniform look. Avoid holding the straightener in one spot for too long to prevent overheating and potential damage.
Remember, patience is key when straightening your beard to achieve the desired sleekness and style.
Pass the straightener through each section a few times until you achieve the desired level of straightness. Ensure not to linger too long on any single spot to prevent overheating.
By following these steps, you can quickly transform your beard into a polished and stylish masterpiece.
Before you start straightening your beard, it's crucial to prepare it properly. Taking care of the pre-straightening steps will ensure better results and minimize the risk of damaging your precious facial hair.

When it comes to beard straightening, the key lies in the preparation. By following a few simple steps, you can ensure that your beard not only looks its best but also remains healthy and strong. Properly prepping your beard can make a significant difference in the final outcome, so it's worth taking the time to do it right.
To avoid any styling product buildup or dirt getting in the way of your straightening efforts, it's essential to start with a clean beard. Use a gentle beard shampoo to remove any impurities and rinse thoroughly. Once your beard is clean, pat it dry with a towel or use a hairdryer on a low heat setting. Make sure your beard is completely dry before proceeding.
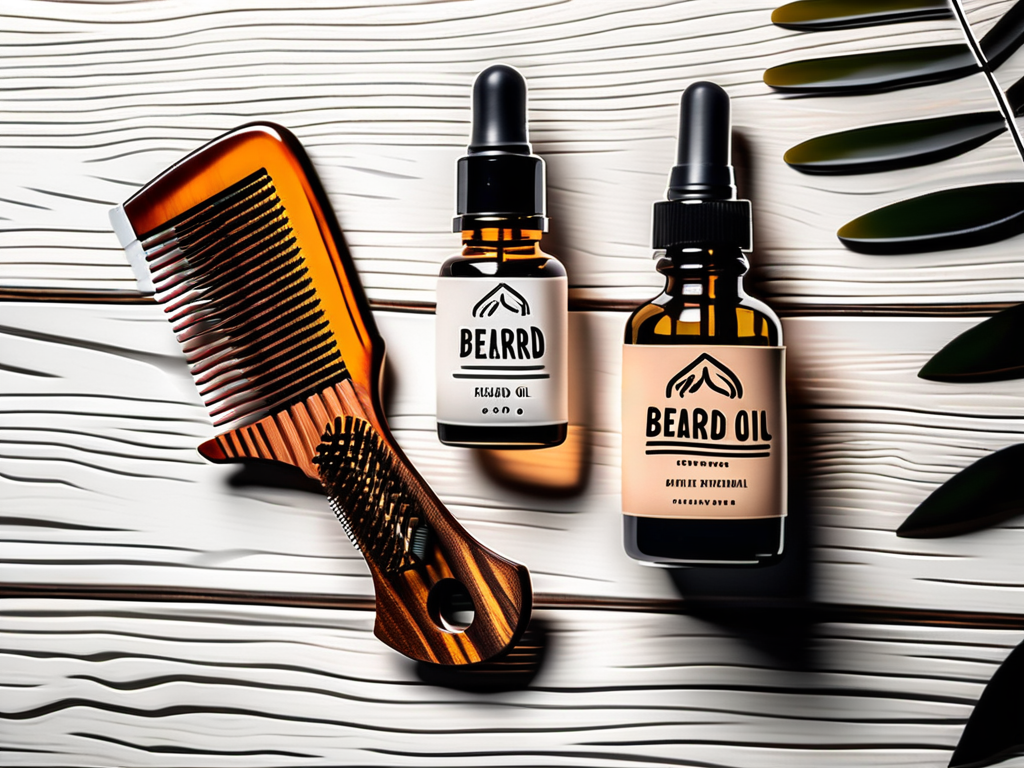
Before subjecting your beard to heat, it's crucial to protect it. Applying a few drops of beard oil will act as a barrier between your facial hair and the straightener. Not only will it protect your beard from heat damage but also nourish and moisturize the hair follicles, promoting healthy beard growth. Massage the beard oil into your beard and make sure it's evenly distributed.
Now that your beard is prepped, it's time to find the perfect beard straightener for your needs. With so many options available in the market, choosing the right one can be overwhelming.
When it comes to additional features, some beard straighteners go the extra mile by incorporating built-in combs or bristles. These features can help detangle and style your beard simultaneously while straightening, saving you time and effort in your grooming routine.
Now that you have the right tool in your hands, let's walk through the step-by-step process of using a beard straightener effectively.
Congratulations! You've successfully straightened your beard to perfection. But the journey doesn't end here. To keep your beard looking sleek and stylish, it's crucial to maintain your straightened beard regularly.

A daily beard care routine will help you preserve the straightened look and keep your beard healthy. Here are a few tips to incorporate into your routine:
Did you know that the type of brush or comb you use can make a difference in maintaining your straightened beard?
Opt for a brush or comb with wide teeth or bristles made of natural materials like boar bristle. These types of brushes and combs are gentle on your beard, minimizing any potential damage or breakage.
Depending on your beard type and daily activities, you may need to re-straighten your beard every few days or once a week. Pay attention to any signs of frizz or curling and use the straightener as needed to maintain the desired look.
Remember to always protect your beard with beard oil before applying heat to minimize any damage.
Now that you've learned the ins and outs of using a beard straightener, it's time to put your knowledge into practice. Straightening your beard can transform your appearance and boost your confidence. Embrace the power of a well-groomed beard and enjoy the compliments that come your way!
Remember, maintaining a straightened beard requires dedication and consistency. By following a daily beard care routine, using the right tools and products, and re-straightening when necessary, you can keep your beard looking sleek and stylish for days on end.
So, get your straightener from The Beard Struggle today and rock that straightened beard with pride!
Comments