Author: The Beard Struggle
Published at: Oct 11, 2024
Maintaining your electric shaver is essential to ensure it delivers a smooth, efficient shave every time. Over time, hair, skin cells, and debris can clog the blades, reducing performance and even causing skin irritation.
In this guide, we'll walk you through the step-by-step process of how to clean your electric shaver, helping to extend its lifespan and keep it running like new. Whether you have a rotary or foil shaver, these simple tips will ensure you're always ready for a flawless grooming experience.
In this guide, we'll discuss:
Cleaning your electric shaver is a simple but essential process that will ensure its longevity and performance. Follow the steps below and get started:
Before starting the cleaning process, follow these important safety precautions:
Taking these precautions will make the cleaning process safer and smoother.
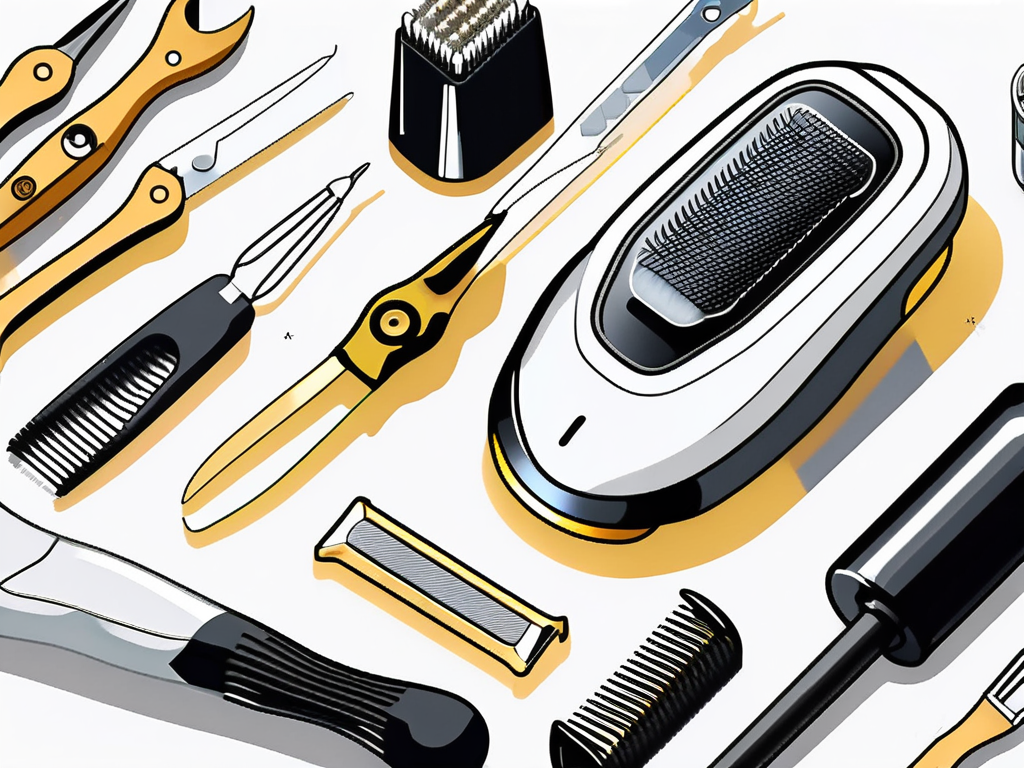
To clean your shaver thoroughly, you’ll need to disassemble it:
Tip: Take pictures as you disassemble the parts, or lay them out in order to make reassembly easier.
The shaver head is where most of the debris collects. Here’s how to clean it:
Once the shaver head is clean, focus on the body:
For extra hygiene, consider using a disinfectant wipe occasionally, especially if you share your shaver with others.
Once all the parts are dry, carefully reassemble the shaver by following your pictures or laying out the components in reverse order.

Just like a car requires regular oil changes, your electric shaver benefits from routine cleaning. A dirty shaver can lead to:
By keeping your shaver clean, you ensure that it operates smoothly, providing a closer and more comfortable shave.
Additionally, a well-maintained shaving kit can help you save money in the long run; replacing blades and entire shavers can be costly, and regular cleaning can significantly extend their usability.
Moreover, the satisfaction of using a freshly cleaned device can enhance your grooming routine, making it feel more like a pampering session than a mundane task.
Beyond the realms of efficiency, let’s talk about health. A filthy shaver can become a breeding ground for bacteria, leading to:
Imagine the embarrassment of dealing with a rash or other skin issues simply because you neglected your grooming tool. By investing a few minutes in cleaning, you're safeguarding not just your shaver but your skin as well.
Furthermore, using a dirty shaver can exacerbate pre-existing skin conditions, such as acne or eczema, making it crucial for those with sensitive skin to maintain cleanliness.
Regular cleaning not only protects your skin but also promotes a healthier grooming experience, allowing you to feel confident and refreshed after each shave.
Before you embark on your shaver-cleaning adventure, you’ll need to gather your supplies. The right tools will make the process smoother and more effective.
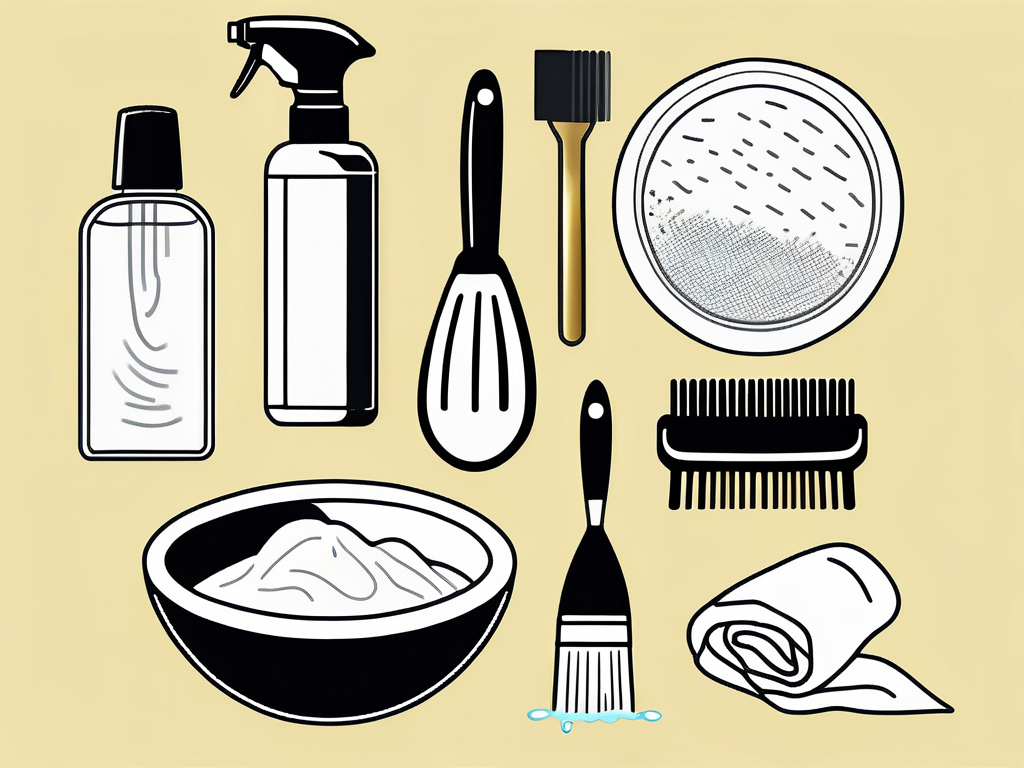
Fortunately, you don’t need to break the bank on fancy products. Most items you need are likely around your house:
These simple household items can do wonders in revitalizing your shaver. The soft-bristled toothbrush is particularly useful for reaching those tight spaces where hair and debris tend to accumulate.
Its gentle bristles ensure that you won’t scratch or damage the delicate components of your shaver while effectively dislodging any buildup. Additionally, using warm water can help to loosen stubborn grime, making it easier to clean without the need for harsh chemicals.
While household items work great, specialized cleaning solutions are available. These products can help to:
However, they're often not necessary unless you're a heavy user or if your shaver gets particularly grimy. The choice is yours!
If you do decide to invest in a specialized cleaner, look for those that are specifically formulated for shaving tools, as they often contain ingredients that not only clean but also help to lubricate the blades, enhancing their longevity and performance.
It’s also worth noting that some of these products come in convenient spray bottles, making application quick and easy, which can be a time-saver in your grooming routine.
Just remember to always follow the manufacturer's instructions for both your shaver and any cleaning products to ensure optimal results and avoid any potential damage.
Regularly cleaning your electric shaver is a simple yet crucial part of maintaining its performance and longevity. By following these easy steps, you can ensure a smooth, irritation-free shave every time, while also protecting your investment. Keeping your shaver clean not only enhances its efficiency but also contributes to a healthier grooming routine, leaving you looking and feeling your best.
Ready to upgrade your grooming game? Check out The Beard Struggle for premium products designed to keep your facial hair looking sharp and healthy!

10 Beard Care Mistakes A Viking Should Never Make
Register now to receive 10 exclusive tips straight to your inbox.
Comments